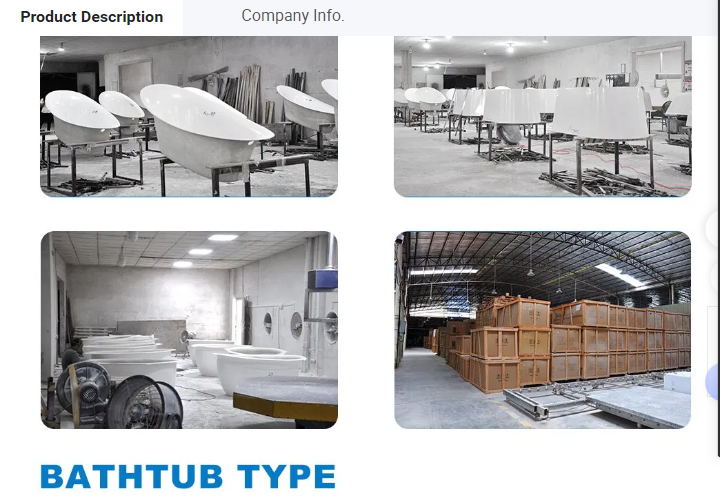
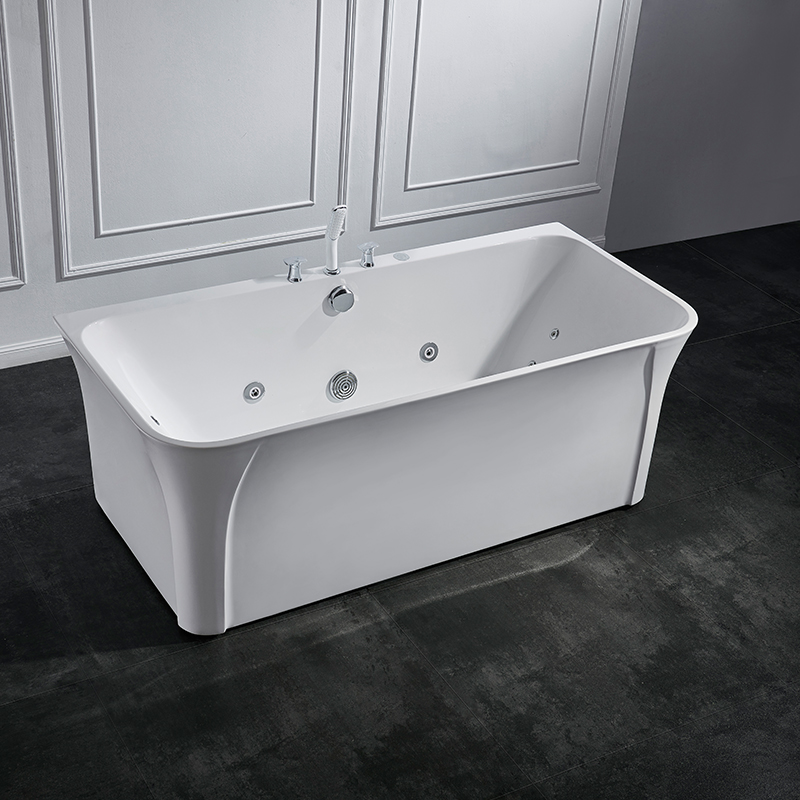
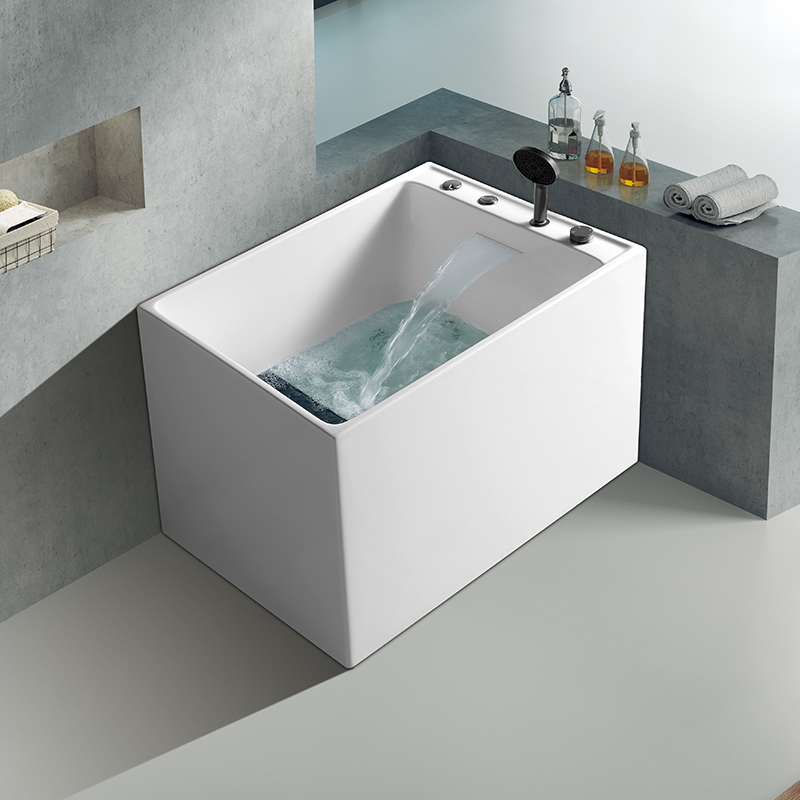
The production of a bathtub is a meticulous process involving multiple steps and technical points. The following is the detailed process of making a bathtub。

1.Mold making: Firstly, a vacuum forming mold needs to be made based on the design drawings or actual samples. Molds are generally made of aluminum alloy or resin materials. Aluminum alloy molds have a long service life, but they are more expensive and have a longer processing cycle。
2.Material preparation: Purchase materials such as resin, fibers, and talcum powder, and mix them in proportion to reinforce the formed bathtub products.
3.Vacuum forming: The acrylic sheet is heated and softened in the furnace of the vacuum forming machine, then mechanically pressed onto the mold. After that, the sheet is thermally stretched and deformed by the expansion and suction of compressed air or vacuum. The cooling fan is started to harden the sheet and shape it, and then it is demolded.
4.Bonding reinforcement: The formed blank needs to undergo resin bonding reinforcement. This involves combining unsaturated resin and glass fiber at the bottom of the sanitary ware blank to ensure that the formed product has sufficient strength.
5.Edge trimming and cutting: After the product is bonded and cured, it is trimmed and cut by a mechanical arm, which makes the quality more stable.
6.Drilling processing: Processing is carried out using machinery, such as multi-hole drills, nozzles, and other side device holes.
7.Grinding treatment: To prevent water leakage, the installation holes on sanitary ware should be treated with a dedicated grinding knife head.
8.Packaging and shipment: After the overall production of the bathtub is completed, the surface dust of the bathtub product needs to be cleaned up first, the feet adjusted, and then it should be packed in bubble wrap and placed in a cardboard box for shipment.
The above is the detailed process of making a bathtub. It should be noted that different manufacturers may have different process details and quality control standards.
There is also a kind of homemade cement bathtub:
Making your own cement bathtub is an economical, simple and durable method. The following are the detailed production steps:
1.Determine the size and position of the bathtub based on the drain. If there is no "floor drain" on the floor of the original room, if conditions permit, a drainage system can be made by oneself, such as extending pipes to the sealing wall to drain water outward, or extending pipes to the floor drain of the adjacent room, etc. The general outer dimensions of a bathtub are 120 cm in length, 65 cm in width and 45 cm in height. According to actual needs, appropriate adjustments can be made.
2.Mark the control lines for the length and width of the bathtub on the ground, and mark the horizontal line for the height of the bathtub on the adjacent wall.
3.Build brick walls along the inner circle of the ground control line. Bricks should be laid sideways to ensure that the thickness of the brick wall does not exceed 6 centimeters. The vertical brick joints at the top and bottom must cross each other and not be in a straight line. At the corners, the bricks and the joints must also cross. When laying bricks, first apply a 1-centimeter-thick layer of 1:3 cement mortar at the bottom. While still wet, apply a 1-centimeter-thick layer of cement mortar at the edge of the brick. Then, immediately place the brick on the bottom mortar and use a trowel to tap the brick surface to make it straight and firmly bonded. Build them horizontally block by block in sequence.
4.After the bottom row is laid, apply a 1-centimeter-thick layer of cement mortar on the surface of the first row of bricks with a trowel. Follow the above laying method, cross the brick joints with the first row, and lay the second row of bricks. Regularly check the squareness of the four corners and the flatness of the sides. Any errors should be corrected in time. Gradually build upwards in this way until the required height is reached.
5. After all the bricks have been laid, at room temperature, at intervals of 3 to 4 hours, apply a thin layer of 1:3 cement mortar on the inner and outer walls of the bathtub and the upper opening surface of the bathtub with an iron trowel, which is called "scraping the grass". It is required that when scraping the grass with the iron trowel, the hand should be gentle and not shake the newly built bathtub wall to avoid loosening the bonding layer and causing water seepage at the wall joints, which would affect the quality.
6.The surface material for the cement bathtub can be made the next day. The operation sequence is to start with the inner wall and then the outer wall, and from the bottom to the top. When applying the vertical cement mortar, place a short wooden guide bar flat at the upper opening of the bathtub. Press the guide bar with a heavy object to prevent it from moving. Then, use a tape measure and a right-angle square to measure and adjust the position of the guide bar opening (i.e., the thickness of the four walls and the verticality of the four corners). Then, taking the lead strip opening as the thickness standard, apply a 1:2 cement mortar layer material to the inner wall of the bathtub with an iron trowel. Generally, the thickness of the cement mortar for the topcoat layer should not exceed 1 centimeter. Then, while still wet, use the side edge of a short guide to slightly smooth out the surface layer material. After adding the material, use a wooden trowel to compact and straighten it to make the surface smooth and rough. After about 10 minutes, use an iron trowel to smooth out the surface cement.
These steps require certain manual skills and safety awareness. If you have no relevant experience, it is recommended that you have professionals carry out the construction.


